|
Go to Extensions->MyMuse->Store
Here you can configure your store. You want to at least set your own Contact information.
If you use the Store view in a menu it will display the description and any products set as featured.
Description
The Store [edit] page holds information for your store.
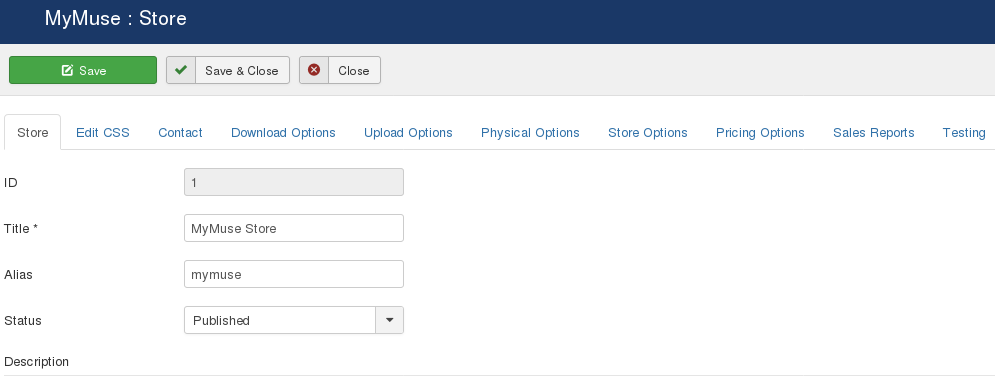
Store
- Title (required): the name of your store.
- Alias (optional): Joomla! will create an alias that can be used in SEF URL's
- Top Level Category: the category to associate with the store.
- Status: published or not.
Description
- This is the default description of your store. You can point to it from a menu item by choosing
MyMuse->Store->Store Layout
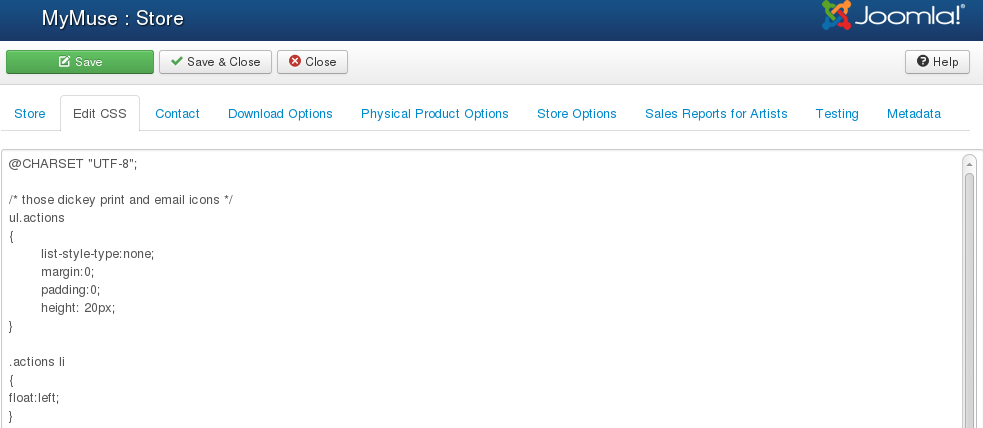
EDIT CSS: Edit CSS that applies to MyMuse
CONTACT: will be used with all emails.
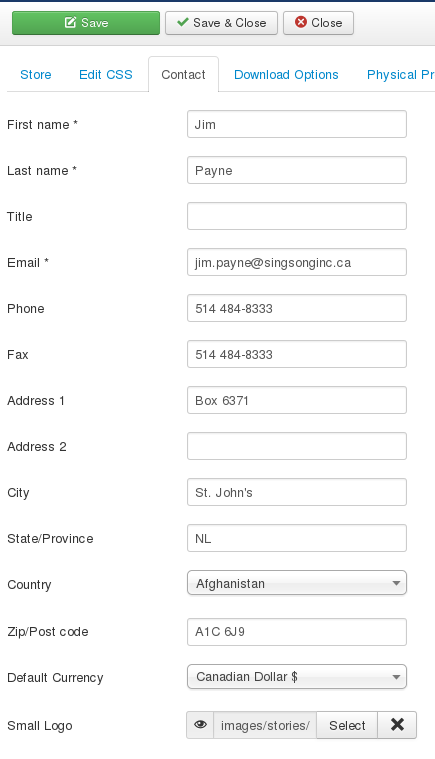
- First Name
- Last Name
- Title (optional)
- Email
- Phone
- Fax
- Address 1
- Address 2
- City
- State/Province/Region
- Country: choose your country and if we know the states/provinces we will show them
- Zip/Postal Code
- Currency: will be sent to your payment processor as your currency
- Small Logo: will be used on html emails
DOWNLOAD OPTIONS
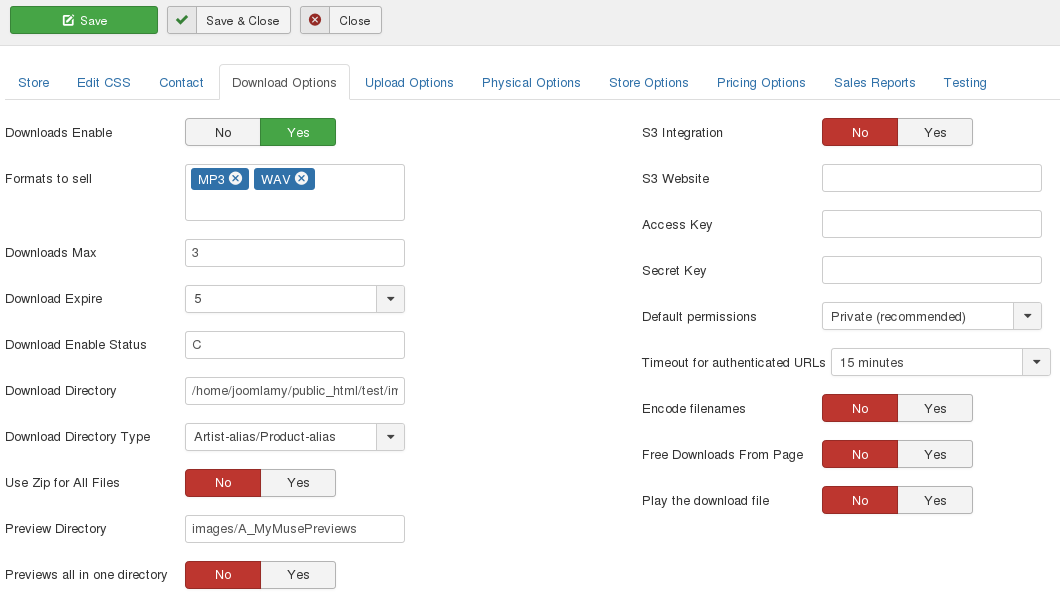
- Downloads Enable: Turn downloads on or off.
- Formats to Sell: If you want to sell multiple formats, you must supply them for each product. For example "MP3" and "WAV"
- Download Max: Maximum number of times the customer can make the download.
- Download Expire: How long until the download expires in seconds (43200 is 3 days).
- Download Enable Status: The order status that is required before downloads are
enabled 'C; is confirmed.
- Download Directory: The FULL PATH to the download files. Depending on your hosting, you may be
able to put this out of the web directory. /path/to/your/site/images/A_MyMuseDownloads.
If you are using S3 integration, the Amazon S3 bucket where your download files will be / are stored. The bucket must exist (MyMuse can't create it for you). The user identifed by the Access and Secret Key provided above must have at least read access to the bucket for downloads to work. IMPORTANT! Bucket names are case sensitive. Abc, abc and ABC are three <em>different</em> buckets as far as Amazon S3 is concerned!
- Download Directory Type: The default is "Artist-alias/Product-alias" ex: pink-floyd/dark-side-of-the-moon. The other option is "By format (ex. mp3 or wav)". with this option you would store your mp3's in the folder download-directory/mp3 and your wav's in download-directory/wav. For example:
/path/to/your/site/images/A_MyMuseDownloads/mp3/
/path/to/your/site/images/A_MyMuseDownloads/wav/
- Use Zip for All Files: When creating an "All Files" type of track (selling all the files for one album/product), make a zip file on the fly. This saves the customer downloading each file separately.
You must have the zip enabled in your PHP and have the memory available per process for all the files combined. memory_limit should be greater than all the files plus the regular php process. This can be quite big is selling wav files :)
- Preview Directory: The relative path to the preview directory.
Default is 'images/A_MyMusePreviews'.
If you are using S3 integration, the Amazon S3 bucket where your files will be / are stored. The bucket must exist (MyMuse can't create it for you). The user identifed by the Access and Secret Key provided above must have at least read access to the bucket for downloads to work. IMPORTANT! Bucket names are case sensitive. Abc, abc and ABC are three <em>different</em> buckets as far as Amazon S3 is concerned!
- Previews all in one directory: this does away with the "Artist-alias/Product-alias" and you can place all your previews in the Preview Directory.
- S3 Integration: MyMuse can optionally integrate with Amazon S3 to store your download files. You will need an Amazon S3 subscription. Enter bucket names in the Download and preview directories.
- S3 Website: To show your previews from S3 storage, enter the endpoint. Ex: http://mymusetestpreviews.s3-website-us-west-2.amazonaws.com
- Access Key: Your Amazon S3 Access Key. You can create one or find your existing one at http://s3.amazonaws.com.
- Secret Key: Your Amazon S3 Secret Key. You can create one or find your existing one at http://s3.amazonaws.com.
- Default Permissions: Default permissions to apply to files which are uploaded to Amazon S3 Download Directory Bucket.
- Timeout for authenticated URLs: MyMuse creates what Amazon calls authenticated URLs for downloads of all items stored in S3 buckets. These URLs are designed to expire after a predefined amount of time. This option controls when these download URLs will expire. Keep this limit short. Increase only if you are hosting large files and you want your users to be able to use download managers, such as DownThemAll, which launch several connections over the duration of the entire download process. IMPORTANT! Make sure your server clock is synchronised with a time server in order for this feature to work as expected and allow downloads of files stored on Amazon S3.
- Encode Filenames: DEPRECATED. Rename file to an md5 hash (32 bit string of characters and numbers). This option will no longer be available. We found it confused admins and made tracking your files difficult.Saving the store will convert your filenames to their original names.
- Free Downloads From Page: If set to yes, then free products will have a download graphic and link to the Preview Directory.
- Play the download file Play the file from the Download Directory if it has been purchased by the user.
You must remove the .htaccess file from the Download Directory for this to work.
Upload Options
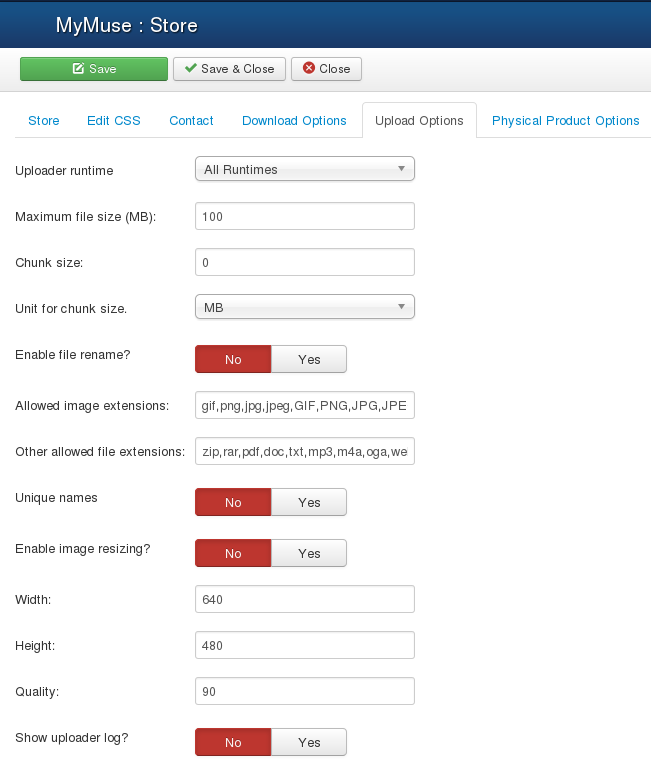
The 'Plupload' script allows you to upload files using HTML5, Gears, Silverlight, Flash, BrowserPlus or normal forms. It provides some additional features such as upload progress, image resizing and chunked uploads. NOTE not all features exist in all browsers. All settings are changeable in the configuration. See also: www.plupload.com
- Uploader runtime: Select a runtime for plupload uploader. Default is 'All runtimes'. Note: By selecting All runtimes the uploader will auto select a runtime that works in your current browser.
- Maximum file size: Maximum file size that can be selected in the browser window.
- Chunk Size: Enables you to chunk the file into smaller parts. For example, if your PHP backend has a max post size of 1 MB, you can chunk a 10 MB file into 10 parts. Note: This MUST be a numerical value. Leave empty or zero to disable this feature.
- Unit for chunk size: Define the unit type to be used for the chunk size option above.
- Enable file rename?: You can rename files in the upload queue before uploading them. Set to Yes to enable this feature.
- Allowed image extensions: Allows you to specify which Image file extensions that you are able to pick from a browser window.
Separate each image extension type with a comma(,).
- Other allowed file extensions: Other file extensions that you are able to select from a browser window.
Separate each file extension with comma(,)."
- Unique names: Generate unique (random) filenames when uploading. This will generate unqiue filenames for the files so that they do not for example collide with existing ones on the server. Recommended: No.
- Enable image resizing: When Yes, uploaded images are automatically resized to the settings defined below. This only works for .png and .jpg images and needs either Firefox 3.5+ or Chrome.
- Width: Image width (px)
- Height: Image height (px)
- Quality: Resizing quality (%). Recommended: 90.
- Show uploader log?: Dispay logs when uploader state changes.
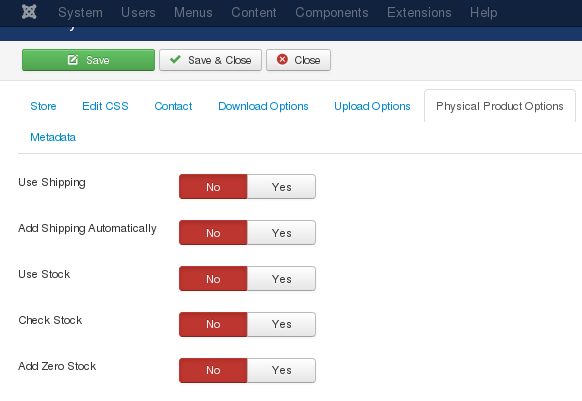
PHYSICAL PRODUCT OPTIONS
,,,
- Use Shipping: turn shipping plugins on or off.
- Add Shipping Automatically: If there is only one shipping option, add it automatically and send a message to the customer.
- Use Stock: Add stock numbers to physical items. They will be deducted by each sale quantity.
- Check Stock: Stop the order if the stock would be less than zero.
- Add Zero Stock: Add the zero stock items to the order anyway.
STORE OPTIONS
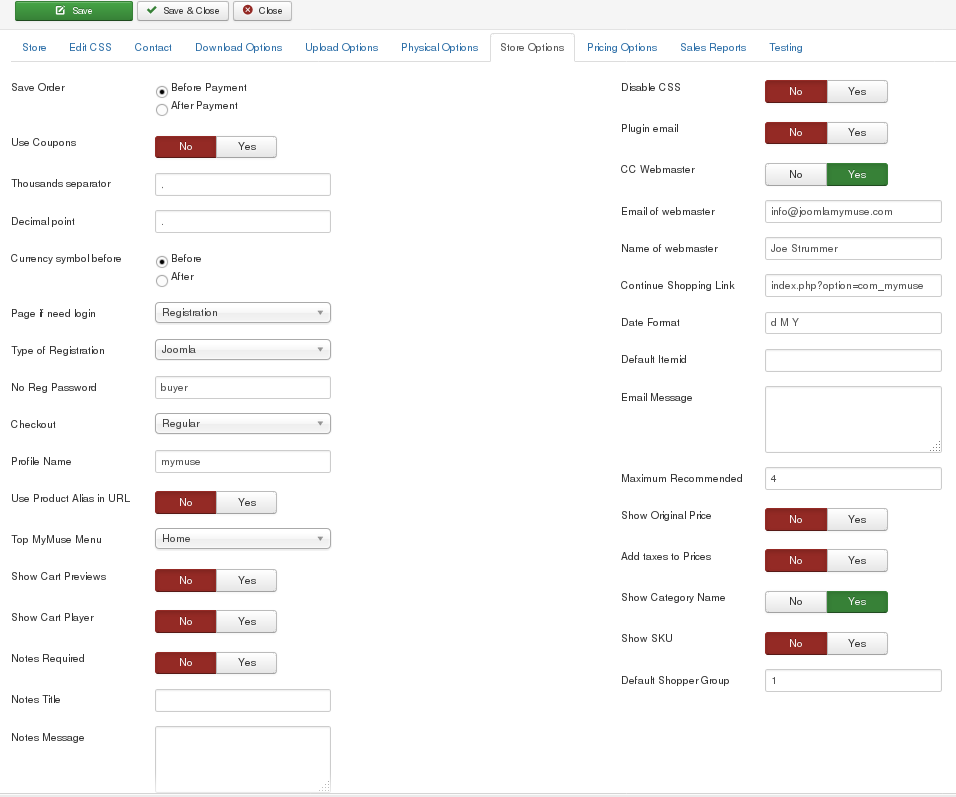
- Save Order: Save order before payment is made is the standard. You may receive orders that are
abandoned at the payment processor. * After Payment only works with PayPal Regular plugin *
- Use coupons:Let thecustomer enter coupons for a discount.
- Thousands Separator: For your currency.
- Decimal Point: Some countries use commas.
- Currency Symbol Before: Currency symbol before or after price.
- Page if need login: When it is time to login, send them to Joomla's Registration page or Login page.
- Type of Registration:
- Joomla: just use Joomla's registration. Capture their name, username, email and password.
- Full: includes Joomla registration PLUS any required or optional items from your Profile plug-in.
The default plugin is Plug-ins->User->User - MyMuse Profile. If you activate a different plugin, enter its file name (without the .php extension).
- Jom Social: checks if the user is logged in, if not, send them to Jom Social login page.
- No Registration: uses a guest account to log in clients. You can still capture fields that you have set as required or optional in the
Plug-in User->User - MyMuse No Registration Profile. These are saved in the Notes field of the order.
Do not enable multiple profile plug-ins.
- Checkout: Regular or Skip Confirm Page. Most payment processors recommend or insist on a Confirm Page with all the details of the order.
- Profile Name: name of your profile plugin (just use 'mymuse' unless you know what you are doing and write your own plugin).
- Use Product alias in URL: SEF URL's will use only the top menu alias/product alias in the router.
- Top MyMuse Menu: This will be first in URLs before your product/category alias or cart function.
- Show Cart Previews: Show Previews for tracks in cart
- Show Cart Player: Show the Player in the Cart
- Notes Required: Force the customer to enter notes.
- Notes Title: The title above the Notes text area.
- Notes Message: a message that appears above the notes area. Can contain html.
- Disable CSS: Do not load the MyMuse CSS file. You have copied it into your main template.css or somewhere else.
- Plugin email: Be notified by the Payment Plugin for every transaction.
- CC Webmaster: copy webmaster on every email.
- Email of webmaster
- Name of webmaster
- Continue shopping link: When they are looking at the cart they can choose "Checkout" or "Continue
Shopping". This sets the link for "Continue Shopping".
- Date Format: Change the way dates are displayed.
- Email Message: Include an email message with emails that go out.
- Show Original Price: Will show original price with Strike-through and the discounted price.
- Add taxes to Prices: Include taxes with prices.
- Default Shopper Group: Do not change unless you have a reason to.
PRICING OPTIONS: Select the way you set prices.
- Pricing Model: Default is "Price by Track". Each individual track can have its own pricing.
Option: "Price by Product". For each product set the price of files by each format and for All Files by format.
.
SALES REPORTS FOR ARTISTS: You can assign users to a group and a category, and create a menu for them to access sales reports.
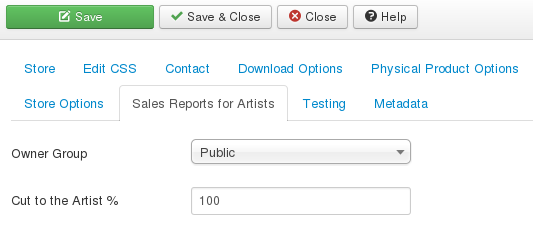
- Owner Group: You can create a new group for your artists or leave this as Public
- Cut to the Artist: Percentage of sales that will be given to the artist.
TESTING
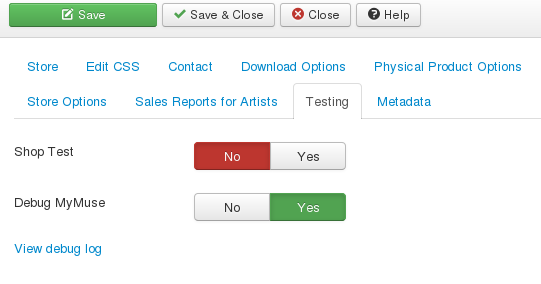
- Shop Test: You do not have to pay for items. The cart session is not destroyed when making an order.
- Debug MyMuse: Save Payment Gateway messages to /components/com_mymuse/log.txt.
- View debug log: open a screen to view debug messages.
Toolbar
At the top left you will see the toolbar:

The functions are:
|
